1. Initial situation
In order to be able to use the license of the LANCOM Advanced VPN Client on a new system or to reactivate it correctly after an upgrade, it must be deactivated. To do this, proceed as described below.
2. Procedure
-
Deaktivierung bei Client Deinstallation
-
Deaktivierung ohen Client Deinstallation
- Add Button
1. If you uninstall an activated LANCOM Advanced VPN Client from your system, you will receive the following message at the beginning of the uninstallation:

2. Click the Yes button to start the Deactivation Wizard.
3. Start the deactivation process with the Next button.

4. Enter your data in the following dialog. Your name and email address are mandatory. A company name can optionally be specified.

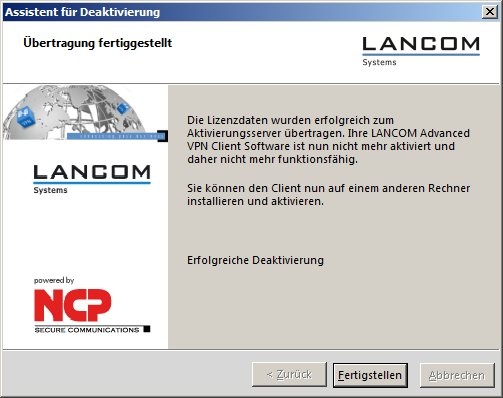
5. If the license data has been successfully transferred to the activation server, this is indicated with a message.
6. Following successful license deactivation, you will receive a confirmation email containing a link and the license data of the deactivated license.

7. Click on the link in the confirmation email to complete the deactivation.
1. In the Help menu, click on the Deactivate client menu item.

2. Start the deactivation process with the Next button.
3. Enter your data in the following dialog. Your name and email address are mandatory. A company name can optionally be specified.
4. If the license data has been successfully transferred to the activation server, this is indicated with a message.
5. Following successful license deactivation, you will receive a confirmation email containing a link and the license data of the deactivated license.
6. Click on the link in the confirmation email to complete the deactivation.